Agent-Ready Xcode Development Loop
A practical setup using Tuist, XcodeBuildMCP, and simulator automation to take coding agents from a source change to runtime evidence.
Ask a coding agent to add a screen to an iOS app and writing the Swift may be the easiest part.
The rest depends on knowledge that often lives with the developers. Which workspace should be opened? Which scheme represents the app? Does the new file belong to the right target? Which simulator should be used? How do we reach the changed screen, and what proves the feature works?
A developer answers those questions from experience and operates Xcode directly. An agent needs the repository and its tools to make the same path explicit.
This is the loop I want:
The goal is to give the agent a reliable route from intent to evidence. A task should not end with a plausible diff or a successful compile when the behavior can be exercised in a running app.
I use three pieces to establish that route:
| Layer | Job |
|---|---|
| Tuist | Make project structure and build settings reproducible and reviewable. |
| XcodeBuildMCP | Let the agent discover, build, test, launch, inspect logs, and debug through structured tools. |
| Simulator and UI automation | Let the agent operate the app and collect semantic and visual evidence. |
The simulator and UI automation capabilities in this setup are workflows exposed by XcodeBuildMCP, not another product to install.
Build the loop before scaling the agent system
Start with one developer, one agent, and one app flow. Prove that a normal change can travel around the loop without a person repairing the tooling at every step.
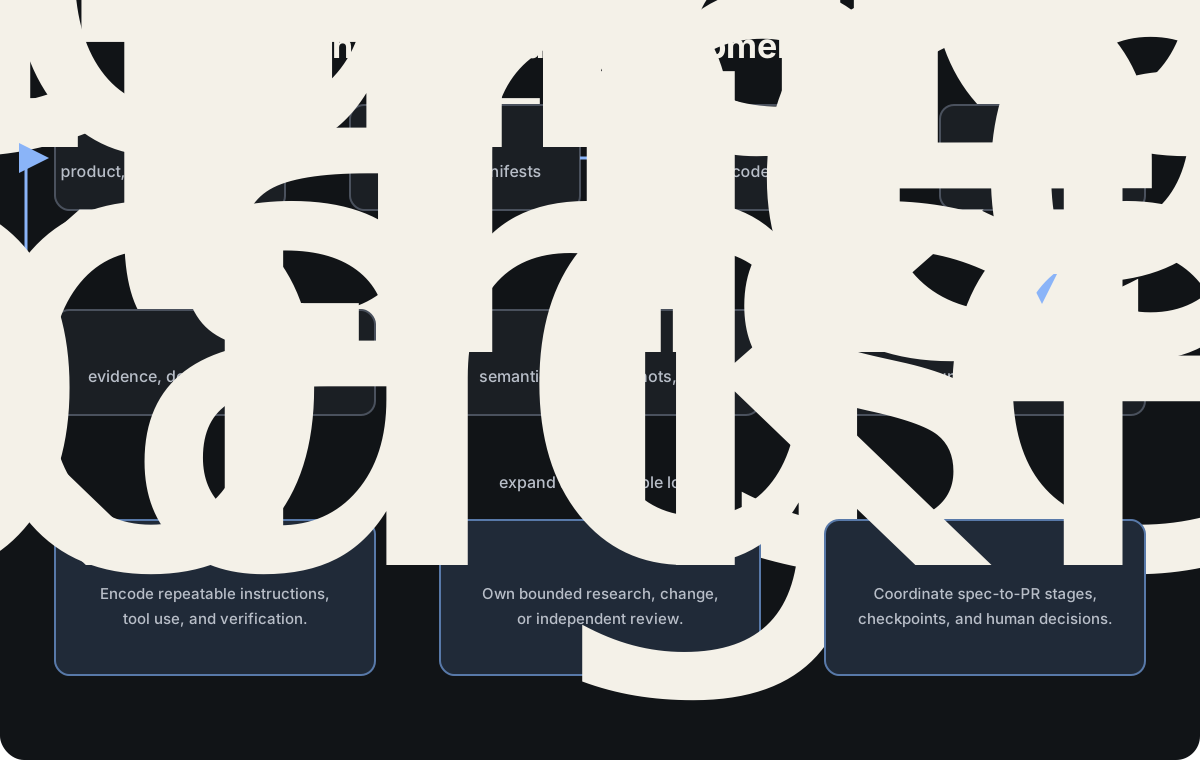
Once that works, skills can encode repeatable procedures, subagents can own bounded changes, and workflows can coordinate longer jobs and checkpoints. They all depend on the same foundation: a reproducible project, known build destinations, and a way to inspect the running app.
The request entering the loop can also be more useful than a chat prompt. A product brief, Figma reference, interaction states, accessibility expectations, and testable acceptance criteria give the agent a grounded definition of done.
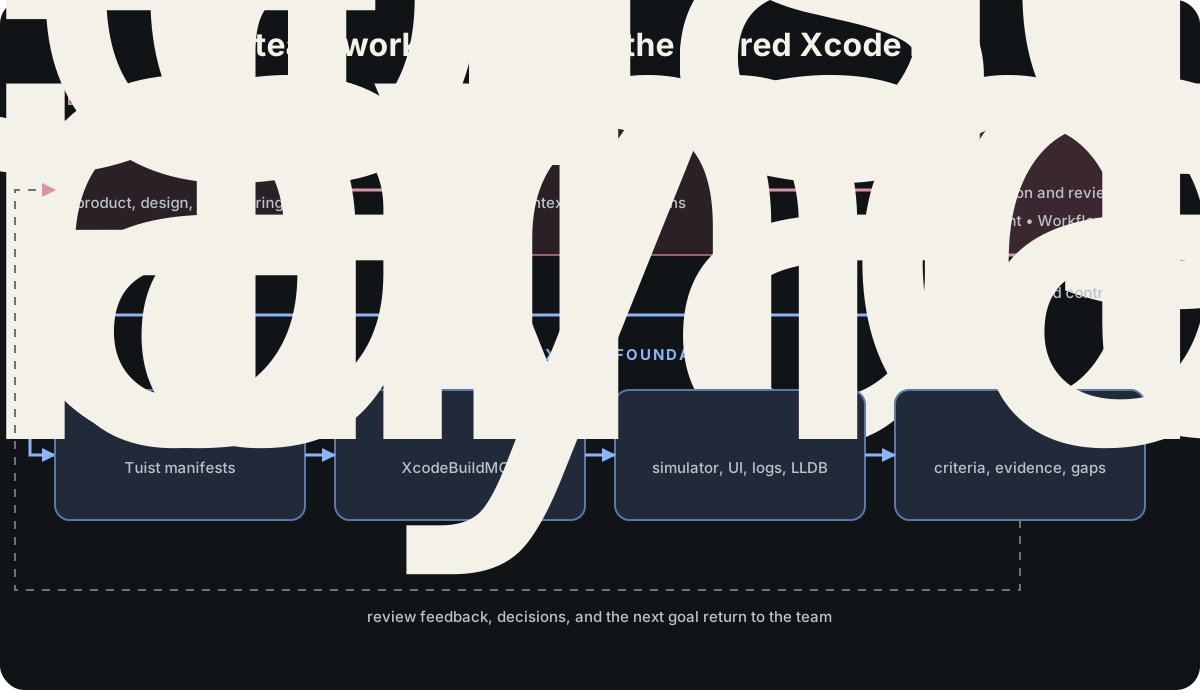
The first half of this model is specific to the team. A design workflow may compare the app with a Figma state. An accessibility workflow may inspect labels and focus. A migration workflow may care about build parity and regression tests. Each path should then converge on the same repository contract for generation, schemes, simulator destinations, and evidence.
This is the path from a specification to a PR. The agent can use the specification to understand the work, make the change, run the shared Xcode loop, and return evidence to the people responsible for the decision.
Build it in this order
Choose one stable app flow. For a new app, that might be adding the first movie to a list. For an established app, avoid beginning with the area that has the most complicated dependencies or signing setup.
Write down five facts before changing the repository:
- The project or workspace to open.
- The scheme and configuration for the flow.
- The simulator used for normal development.
- The visible steps needed to exercise the behavior.
- The tests, logs, semantic state, and screenshot that would prove it worked.
A new app can follow the steps below in order. For an established app, start with Step 2 against the current workspace. First prove the agent can build, test, and launch the app. Tuist can follow one target at a time.
Step 1: Make the project reproducible with Tuist
An Xcode project carries product decisions. Target membership, build settings, schemes, dependencies, entitlements, and deployment targets all affect what ships.
The standard project file can represent them, but it is a difficult editing surface for an agent. Small changes can produce noisy diffs, and a Swift file can exist on disk without belonging to the target that should compile it.
Tuist generated projects move the project definition into Swift manifests. Project.swift describes projects and targets, while Tuist.swift holds project-level configuration.
import ProjectDescription

let project = Project(
    name: "MovieJournal",
    targets: [
        .target(
            name: "MovieJournal",
            destinations: .iOS,
            product: .app,
            bundleId: "com.example.moviejournal",
            deploymentTargets: .iOS("27.0"),
            buildableFolders: ["App"]
        )
    ]
)
The generated project is disposable. The reviewed source of truth is the manifest. Tuist’s buildable folders also keep files below a folder synchronized with the target, so adding a view does not require hand editing project membership.
For a new app, pin Tuist with mise and generate the first project:
mise use tuist@latest
tuist init
tuist generate
Review the generated manifest and keep it small. Add helpers when the project has real repetition to remove.
For an established app, use Tuist’s migration guide to create a parallel generated project. Extract existing settings into .xcconfig files, migrate one target with its tests, then build both paths in CI. Remove the original project only after the generated path has earned trust.
The checkpoint is simple: a clean checkout can install the pinned Tuist version, generate the project, and build the chosen scheme.
Step 2: Give the agent stable Xcode controls
Tuist defines what to generate. The agent still needs a dependable way to operate Xcode.
XcodeBuildMCP exposes project discovery, builds, tests, simulator operations, logs, UI automation, and debugging as structured tools. Session defaults let the repository name its normal workspace, scheme, configuration, and simulator once.
Install the tool locally:
brew tap getsentry/xcodebuildmcp
brew install xcodebuildmcp
xcodebuildmcp-doctor
For team onboarding, commit a Brewfile:
tap "getsentry/xcodebuildmcp"
brew "xcodebuildmcp"
Now brew bundle installs the same dependency on a new machine or in CI.
Each agent client has its own project configuration. Claude Code reads .mcp.json from the repository root. Cursor uses the same structure in .cursor/mcp.json:
{
  "mcpServers": {
    "XcodeBuildMCP": {
      "command": "xcodebuildmcp",
      "args": ["mcp"]
    }
  }
}
Codex can load a project-scoped .codex/config.toml after the repository is trusted:
[mcp_servers.XcodeBuildMCP]
command = "xcodebuildmcp"
args = ["mcp"]
tool_timeout_sec = 600
See the official client configurations for OpenCode, Windsurf, Kiro, VS Code, and Xcode-integrated agents. Do not commit credentials, private environment values, or developer-specific absolute paths. Each developer may be asked to approve the project server before it starts.
Then create the shared XcodeBuildMCP configuration:
xcodebuildmcp setup
xcodebuildmcp init
Commit the resulting .xcodebuildmcp/config.yaml. It defines the workflows and defaults the team expects:
schemaVersion: 1

enabledWorkflows:
  - simulator
  - project-discovery
  - ui-automation
  - debugging

sessionDefaults:
  workspacePath: ./ios/MovieJournal.xcworkspace
  scheme: MovieJournal
  configuration: Debug
  simulatorName: iPhone 17 Pro
Keep the enabled workflows focused so unused tool definitions do not consume agent context.
| Artifact | Responsibility |
|---|---|
Brewfile |
Install XcodeBuildMCP. |
.mcp.json, .cursor/mcp.json, or .codex/config.toml |
Register the server with an agent client. |
.xcodebuildmcp/config.yaml |
Define workflows, project defaults, and the simulator. |
AGENTS.md |
Explain how the repository expects the tools to run. |
The checkpoint is a teammate cloning the repository, running brew bundle, approving the project configuration, and building without asking which workspace or simulator to use.
Step 3: Put the operating contract in AGENTS.md
Installing tools does not tell an agent when to generate the project, which tests to prefer, or what evidence the team expects. Put those decisions in a short root AGENTS.md:
# iOS development loop

## Project source of truth

- Treat the Tuist manifests as the project definition.
- Never edit generated Xcode projects or workspaces.
- Run `tuist generate` after changing manifests or dependencies.

## Xcode controls

- Inspect XcodeBuildMCP session defaults before the first operation.
- Use the configured scheme and simulator unless the task requires another.
- Run affected tests first and the full suite at integration boundaries.

## Runtime verification

- Interact through semantic UI elements, not guessed coordinates.
- Report generation, tests, runtime behavior, logs, and visuals separately.
Keep this contract about repository behavior. Credentials and machine-specific settings stay outside the repository. If the team uses several agent clients, their entry files should point to the same commands and evidence rules.
Larger repositories can add a more specific AGENTS.md near a feature. It can name a focused scheme, test plan, example app, and simulator entry path without repeating the root contract.
This step is done when a fresh agent can identify the source of truth, scheme, simulator, test scope, and required evidence without another setup prompt.
Step 4: Close the feedback loop in the simulator
A successful build does not prove that a sheet opens, navigation reaches the expected screen, or an error appears when it should.
XcodeBuildMCP can build, boot, install, launch, and capture logs through one workflow. Its UI automation can read the accessibility hierarchy, including roles, labels, values, identifiers, frames, and available actions.
The agent can observe a button named Add movie, tap its current element reference, fill a labeled field, and inspect the result. It does not need to guess a screen coordinate.
There is no extra simulator package to install. Enable the simulator, ui-automation, and debugging workflows during setup, then grant macOS Accessibility permission to the application hosting the MCP client.
The app must also expose useful semantics. Stable accessibility identifiers make important flows easier to operate and test:
Button("Add movie", action: addMovie)
    .accessibilityIdentifier("movie-list.add")
An identifier based on intent survives the button moving to a toolbar. A pixel coordinate does not.
The first end-to-end request can stay ordinary:
Build and run the app on the configured simulator. Open the movie list,
add a movie, and verify that it appears. Use semantic UI elements,
capture the final screenshot, and report any runtime errors.
Screenshots and semantic snapshots answer different questions. A screenshot shows what a person sees. The semantic snapshot tells the agent what the interface exposes and which elements it can operate. Useful UI verification often needs both.
The simulator remains an approximation. It supports the fast development loop, but it does not remove physical-device testing from release work.
Step 5: Define completion with evidence
Simulator evidence should sit beside repeatable tests, not replace them. Swift Testing, XCTest, and XCUITest remain source-controlled checks that developers and CI can run again.
I want the final report for a change to separate four facts:
| Question | Useful evidence |
|---|---|
| Did the project generate? | Tuist completed from the committed manifests. |
| Did the code build and pass tests? | Focused package, unit, or UI test results. |
| Did the changed flow work? | Semantic simulator steps, resulting state, and runtime logs. |
| Did the UI look right? | A screenshot or visual comparison at the relevant state. |
“Build succeeded” is not shorthand for all four. Another engineer should be able to see what ran, what behavior was exercised, and what remains unverified.
Step 6: Make the loop smaller as the app grows
A small app can begin with one application target and one broad scheme. As it grows, frequently changed features can become focused targets with their own tests and, where useful, a small example app.
In a movie app, work on the watchlist could build Watchlist, its dependencies, and WatchlistTests without compiling every unrelated feature. Tuist’s guidance on modular architecture treats the ability to build and test a feature independently as a core goal.
Metadata tags can group targets by feature, team, or layer. A focused generation includes the selected targets, dependencies, and tests. A shared scheme or test plan then gives XcodeBuildMCP a stable surface for that smaller graph.
Use the smallest appropriate loop at each stage:
- During implementation, build and launch the affected feature or example app.
- Before the PR, build the affected schemes and run focused test plans.
- In CI, use selective testing and the module cache to skip unchanged work.
- At integration and release boundaries, build and test the complete app.
This matters because an agent may build, launch, inspect, and repeat several times before a change is ready. Removing unrelated work keeps every pass responsive. The speedup comes from intentional module and test boundaries, so introduce them where measurements show real pressure.
Where I would start
For a new app, put Tuist and the XcodeBuildMCP configuration into the first few PRs. Begin with a reproducible project and one documented route through the primary scheme and simulator.
For an established app, configure XcodeBuildMCP against the current workspace first. Once that loop is dependable, introduce Tuist beside the existing project and migrate target by target.
From there, the repository can grow toward a specification-to-PR workflow. Skills can make planning and verification repeatable, subagents can own bounded changes, and stateful workflows can coordinate work across stages or sessions.
That is what makes an Xcode repository agent-ready. The agent can understand how the app is assembled, operate the development environment, observe the running product, and return evidence another engineer can inspect.